Papier mâché is a versatile and enjoyable medium that allows artists to create unique sculptures and three-dimensional artworks. The process of molding and sculpting with papier mâché opens up a world of creative possibilities. In this article, we will explore the techniques and offer valuable tips to help you master the art of molding and sculpting in papier mâché.
1. Armature Building: Creating the Foundation
Before diving into the papier mâché process, it’s essential to construct a sturdy armature to serve as the foundation for your sculpture. The armature can be made from wire, cardboard, or any other lightweight material that can be easily shaped. This structure will give your sculpture its form and stability.
2. Paper Strip Layering: Building the Shape
The classic method of papier mâché involves layering paper strips soaked in a paste over the armature. Dip the strips of newspaper or other absorbent paper into the paste, then smooth them onto the armature. Repeat the process, layer by layer, until the desired shape and thickness are achieved. Allow each layer to dry before adding the next to ensure a strong and solid structure.
3. Paper Pulp Sculpting: Adding Detail
For more intricate sculptures or fine details, consider using paper pulp sculpting. To create paper pulp, tear newspaper or any other paper into small pieces and soak them in water for several hours or overnight. Once softened, blend the paper with water to form a pulp-like consistency. Apply the paper pulp to your sculpture to add finer details, texture, or smooth surfaces.
4. Shaping and Carving: Refining Your Sculpture
As the papier mâché layers dry, you can shape and carve the sculpture to refine its form. Use sandpaper, carving tools, or other appropriate instruments to sculpt and define the contours of your artwork. This step allows you to add personality and character to your creation.
5. Adding Reinforcements: Strengthening the Structure
To ensure the durability of your papier mâché sculpture, consider adding reinforcements to specific areas that may need extra support. Additional layers of paper strips or a mixture of papier mâché pulp and glue can strengthen delicate or vulnerable parts of the artwork.
6. Drying and Curing: Patience is Key
Drying and curing are essential steps in the papier mâché process. Allow your sculpture to dry completely between each layer and after the final sculpting and shaping steps. Depending on the size and thickness of your artwork, this may take several days or weeks. Exercise patience during this phase to avoid compromising the integrity of your masterpiece.
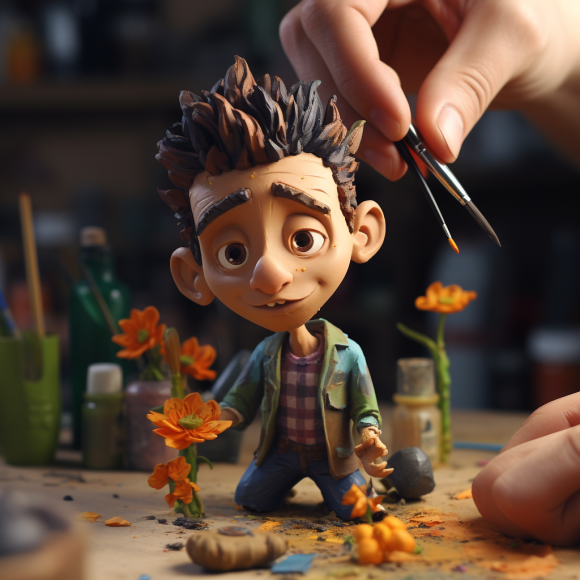
7. Painting and Finishing: Bringing Your Sculpture to Life
Once your papier mâché sculpture is fully dry and cured, it’s time to bring it to life with colors and finishes. Use acrylic paints, varnishes, or other suitable mediums to add vibrancy and protect your artwork. The painting process is an opportunity to showcase your creativity and artistic flair, so have fun experimenting with colors and textures.
Conclusion: From Vision to Reality
Molding and sculpting in papier mâché is a captivating journey from the initial vision to the tangible reality of your artwork. With armature building, paper strip layering, paper pulp sculpting, and shaping techniques, you can shape and mold papier mâché into remarkable sculptures. Embrace the artistic process, and let your imagination guide you as you create enchanting and expressive pieces through the art of papier mâché.