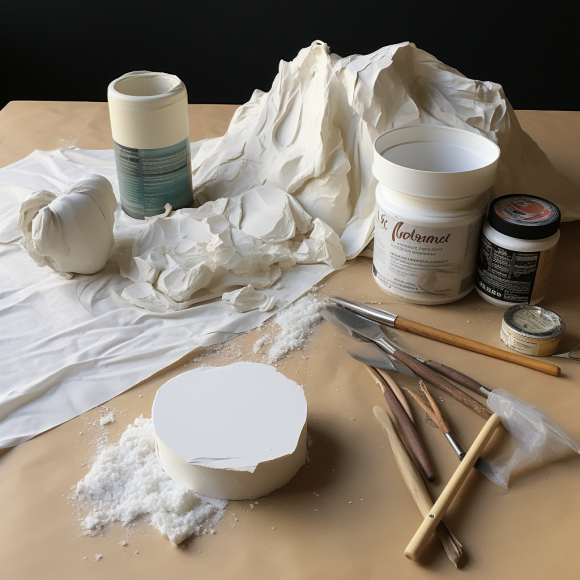
Papier mâché is a versatile and accessible art form that allows artists of all ages to create unique and imaginative projects. To get started with papier mâché, you’ll need a few basic materials that are readily available and easy to work with. This article will guide you through the essential materials required for your papier mâché journey.
1. Paper Strips: The Foundation of Papier Mâché
The primary material for papier mâché is, of course, paper. You can use various types of paper, such as newspaper, tissue paper, or paper towels, torn or cut into strips. Newspaper is the most common choice due to its availability and absorbent nature. Remember to remove any glossy sections of the newspaper, as they may not adhere well with the paste.
2. Paste: The Glue that Holds It Together
To create the papier mâché mixture, you’ll need a reliable paste. You can either buy a pre-made papier mâché paste from an art supply store or make your own at home. One popular homemade recipe involves mixing equal parts of white glue and water until you get a smooth and consistent texture. Some artists also use flour and water to create a paste.
3. Armature: Shaping Your Masterpiece
An armature is a structure or framework that provides support and shape to your papier mâché project. You can use various materials as an armature, such as wire, cardboard, or inflated balloons. The armature serves as the foundation for your papier mâché layers, ensuring that your project retains its intended form.
4. Brushes and Sponges: Applying the Layers
Having a set of brushes and sponges is essential for applying the papier mâché layers. Brushes are great for spreading the paste evenly on the paper strips, while sponges can be used to smooth out any wrinkles and excess paste. Opt for inexpensive brushes, as they might become damaged during the papier mâché process.
5. Scissors and Utility Knife: Cutting and Shaping
Scissors and a utility knife are handy tools for cutting paper strips and shaping your papier mâché project. Scissors are perfect for cutting paper into strips, while a utility knife can be used to trim and shape the final layers. Remember to handle the utility knife with caution, as it can be sharp.
6. Acrylic Paints: Adding Color and Finishing Touches
After your papier mâché project has dried, you may want to add color and details. Acrylic paints work well for painting papier mâché creations and offer vibrant, long-lasting colors. You can also use other decorative materials, such as markers, glitter, or embellishments, to give your project a personalized touch.
7. Varnish or Sealant: Preserving Your Artwork
To protect and preserve your finished papier mâché creation, consider using a varnish or sealant. This step will make your artwork more durable and resistant to damage from moisture or handling.
Conclusion: Unleash Your Creativity with Papier Mâché
With these essential materials at your disposal, you’re ready to embark on your papier mâché journey. The beauty of papier mâché lies in its versatility and adaptability, allowing you to create a wide range of projects, from masks and sculptures to decorative objects and more. So, gather your materials, unleash your creativity, and let papier mâché take you on an exciting artistic adventure!
