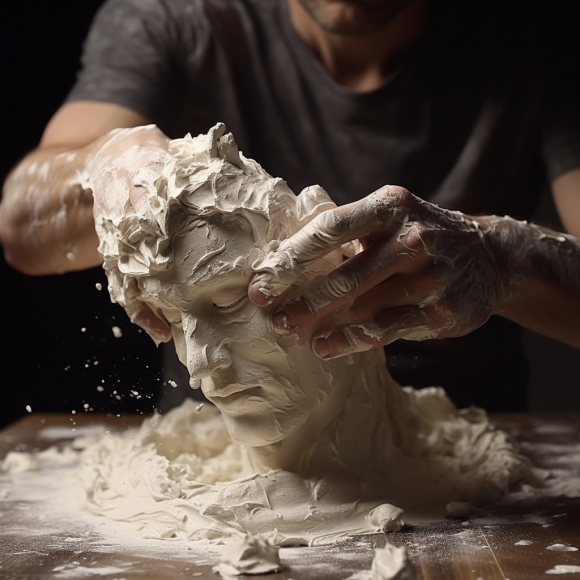
Papier mâché is a versatile and enjoyable craft that requires a simple yet effective paste to bring your creations to life. Making papier mâché paste is easy and requires only a few common household ingredients. In this step-by-step guide, we’ll show you how to prepare papier mâché paste to kick-start your crafting adventure.
Materials Needed:
- Flour
- Water
- Mixing Bowl
- Whisk or Spoon
- Old Newspaper or Paper Strips
- Balloons, Cardboard, or any Base Material for Your Project
Step 1: Gather the Ingredients
First, gather the necessary ingredients: flour and water. The most common ratio is 1 part flour to 1.5 parts water. For larger projects, you may adjust the quantities accordingly. This paste recipe provides a good balance of consistency and strength for papier mâché crafts.
Step 2: Mix Flour and Water
In a mixing bowl, combine the flour and water. Gradually add the water to the flour while stirring to avoid lumps. Keep stirring until you achieve a smooth, lump-free mixture. The paste should have a consistency similar to pancake batter.
Step 3: Adjust Consistency
If the paste is too thick, add a little more water and mix thoroughly. If it’s too runny, add more flour to achieve the desired consistency. The right consistency ensures that the papier mâché adheres well and dries properly without becoming too soggy.
Step 4: Prepare Your Base Material
Before applying the papier mâché, you’ll need a base for your project. It can be a balloon, a cardboard cutout, or any other object that you want to cover and shape with the papier mâché.
Step 5: Dip and Apply
Now comes the fun part! Take strips of old newspaper or paper and dip them into the prepared papier mâché paste. Make sure the strips are fully coated with the paste but not dripping.
Step 6: Layering
Start layering the papier mâché strips onto the base material, smoothing them out with your fingers as you go. Overlap the strips slightly to ensure a strong bond between layers. Continue layering until you achieve the desired thickness and shape for your project.
Step 7: Let It Dry
Once you’ve completed the papier mâché layering, set your project aside to dry. Place it in a well-ventilated area or use a fan to speed up the drying process. Depending on the thickness of the layers, it may take a few hours or overnight for the papier mâché to dry completely.
Step 8: Paint and Decorate
Once your papier mâché project is thoroughly dry, it’s ready to paint and decorate. Let your creativity shine as you add colors, patterns, and embellishments to bring your creation to life.
Conclusion: Unleash Your Creativity with Papier Mâché
Preparing papier mâché paste is a simple and enjoyable process that opens up endless possibilities for crafting. With just flour, water, and your imagination, you can create captivating and unique papier mâché masterpieces that will delight both children and adults alike.